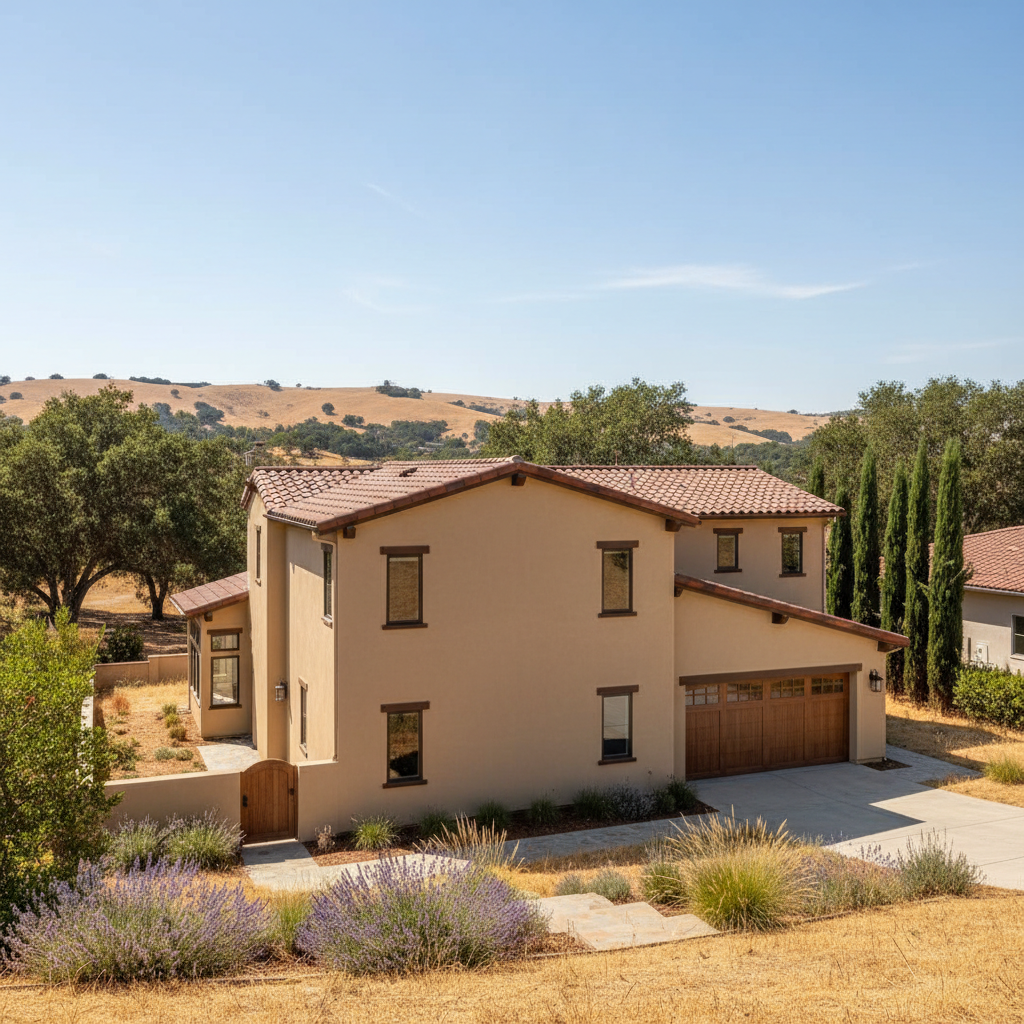
Thinking about new stucco for your home? That's a big project, no doubt, and you definitely want to get it right. I've seen a lot of stucco jobs come and go in Los Altos over the years, and the ones that go smoothly always start with good planning. This isn't about the nitty-gritty of stucco types or colors; it's more about getting your head around the whole process before you even pick up the phone.
Your Project Timeline: What to Expect
Let's talk timeline for a minute. This isn't a weekend DIY job, not even for the pros. From your initial call to the final cleanup, a stucco installation project can easily span several weeks — sometimes longer, depending on your home's size and how complex the work is.
- Initial Consult & Quote (1-2 weeks): You'll call a few contractors, they'll come out, measure, discuss options, and send you a detailed quote. Don't rush this part. Get multiple quotes and really understand what each one includes, okay?
- Contract & Scheduling (1-2 weeks): Once you pick your contractor, there's paperwork to sign. Then, you'll get on their schedule. Good contractors are busy, especially in a place like Los Altos where there's always work happening. Don't be surprised if there's a few weeks' lead time before they can actually start.
- Permits (2-6 weeks, or more): This is often the biggest wild card. Depending on the scope of work, you might need permits from the city of Los Altos. Your contractor should handle this, but it just takes time for the city to review and approve things. Seriously, don't let anyone start work without the proper permits. It's a headache you absolutely don't want.
- Material Delivery & Staging (1-3 days): Once those permits are in hand, materials will start arriving. This usually happens right before the crew starts working.
- Installation (2-4 weeks, or more): This is the active construction phase. It involves prepping the walls, applying the scratch coat, the brown coat, and then the finish coat. Weather plays a huge role here; you can't apply stucco in heavy rain or extreme cold, which isn't usually an issue for us here in Los Altos, but those rare winter storms can definitely slow things down.
- Curing & Final Walkthrough (1 week): Stucco needs time to cure properly. After the finish coat, there's a period where it hardens up. Then, you'll do a final walkthrough with your contractor to make sure everything looks perfect.
So, from start to finish, you're looking at anywhere from 6 to 12 weeks, sometimes even more. Patience, as they say, is key.
What Happens During the Stucco Installation Process?
It's not just slapping mud on a wall, you know. There's a specific sequence to it, and each step is important for a durable, long-lasting finish.
- Preparation: This is crucial. We're talking about protecting your windows, doors, landscaping, and anything else near the work area. Tarps go down, plastic sheeting goes up. Any old siding or trim might need to be removed first.
- Sheathing & Flashing: If it's new construction or a major remodel, the walls will be sheathed, and proper flashing will be installed around windows and doors. This is critical for preventing moisture intrusion, especially with our occasional heavy rains.
- Weather-Resistive Barrier (WRB): A layer of building paper or synthetic wrap goes over the sheathing. This is your primary defense against water getting into your wall assembly.
- Lath Installation: Metal lath (basically, wire mesh) is attached over the WRB. This gives the stucco something to grab onto.
- Scratch Coat: The first layer of stucco mix is applied, pushed into the lath, and then ---